How to create a 3D map for a game
In this article we are going to talk about how to create a 3D map for your game, so basically to create the 3D environment or a map you need to know few software:-
1. Maya
2. Photoshop
3. Substance painter
4. Unreal engine or Marmoset toolbag
So to start the creation of the map we first started with the modelling in Maya or Max whatever you feel comfortable with, you need to have a rough sketch or some concept what you want to create as a 3D map so you start modelling in Maya according to your reference by using basic primitive shape and using the features like bevel, extrude etc. the first main objective is to get the perfect 3D shape according to your reference and once you get the shape you can optimize the 3D model.
Optimizing the 3D model means reducing the extra vertices or polygons which are not adding any contribution in your shape or fix the ngon(faces having more than 4 vertices) once you done with the complete modelling process, including optimizing and fixing the bugs, you can select the whole model and go to edit>edit by type>delete history and Modify> freeze transformation.
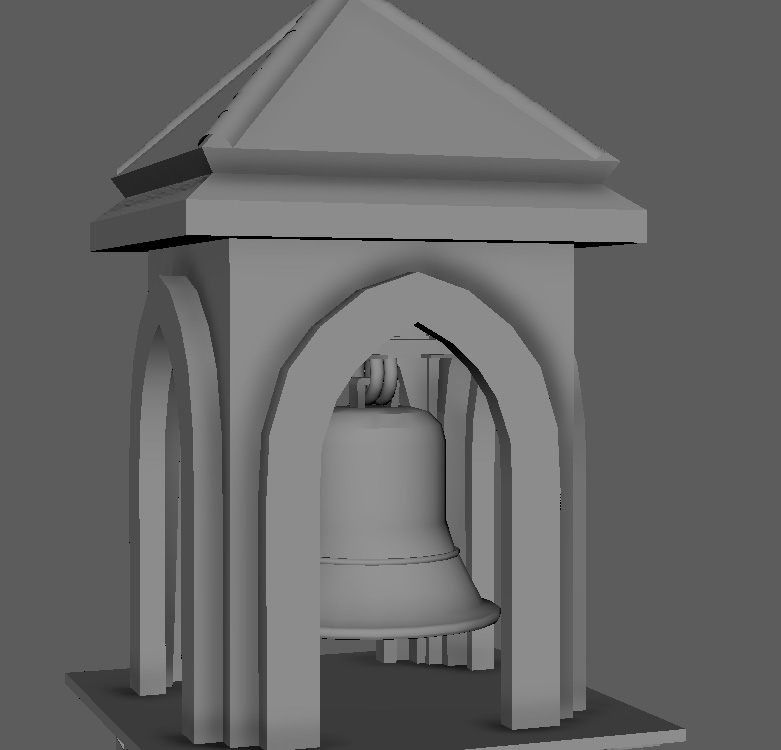
So to make the complete map you don't need everything different just make few thing and duplicate them ,here are some of the screenshots of our 3D model/map


Just place the models according to your concept and now the next step is the unwrapping.
What is Unwrapping?
Open the model and make it flat 2d surface called unwrapping, to unwrap the model just select the model go to UV>UV editor and, if you are a beginner apply the automated unwrapping in the UV editor section, then just figure our if you can stich some edges then also the checkers not stretching.
To see the placement of checkers you need to go to material attribute and in color just apply the checker and press 6 on keyboard and increase the UV repetition and after you got all the checker correct and flat UV map with less seams then select the complete UV and unfold them and layout the UV make sure your UV occupies the full space of the box, wastage of space is not acceptable in the industry, because engine is going to read the full box so if there is lot of empty space then it is wastage of memory and resources because engine going to read the blank space also, so make sure you don't waste the UV space.
Here are some of the UV screenshots of our models.


After you done with your UV packaging and all the things just select your model and export it as .fbx then import them in substance painter.
When you going to import the 3D model it will ask the setting as OPEN GL or DIRECT X so if your are working in maya select OPEN GL , and for max we use DIRECT X these are just the direction of normals.
After importing the model delete the blank layer, go to texture setting and select bake mesh map and bake all the required map and then according to your reference, search for a good texture if your model is realistic then you can use quixel bridge to find the texture, quixel bridge is free if your are log in with epic games.
After finding texture import them in substance painter by drag and drop, create a new fill layer go to color space and start adding albedo in base color, roughness in roughness map, normal map in normal and change the direction of normal to OPENGL for maya inside the color space.
Once you done with texturing export the texture by selecting unreal packed 4 and in 4k resolution assign all the texture in maya by go to material attribute and inside the color tab assign your base color and then export the whole model and import the model in Unreal engine or Marmoset toolbag whatever suits for you and adjust the lightning and add some wind dynamics for rendering.
Here are the renders of our 3D map.


Comments
Post a Comment